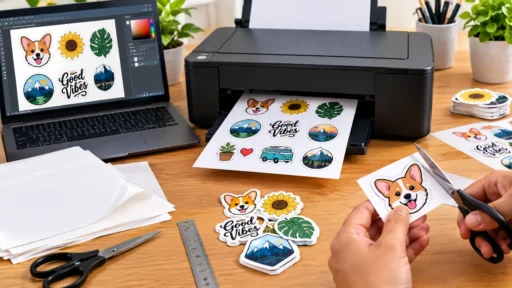
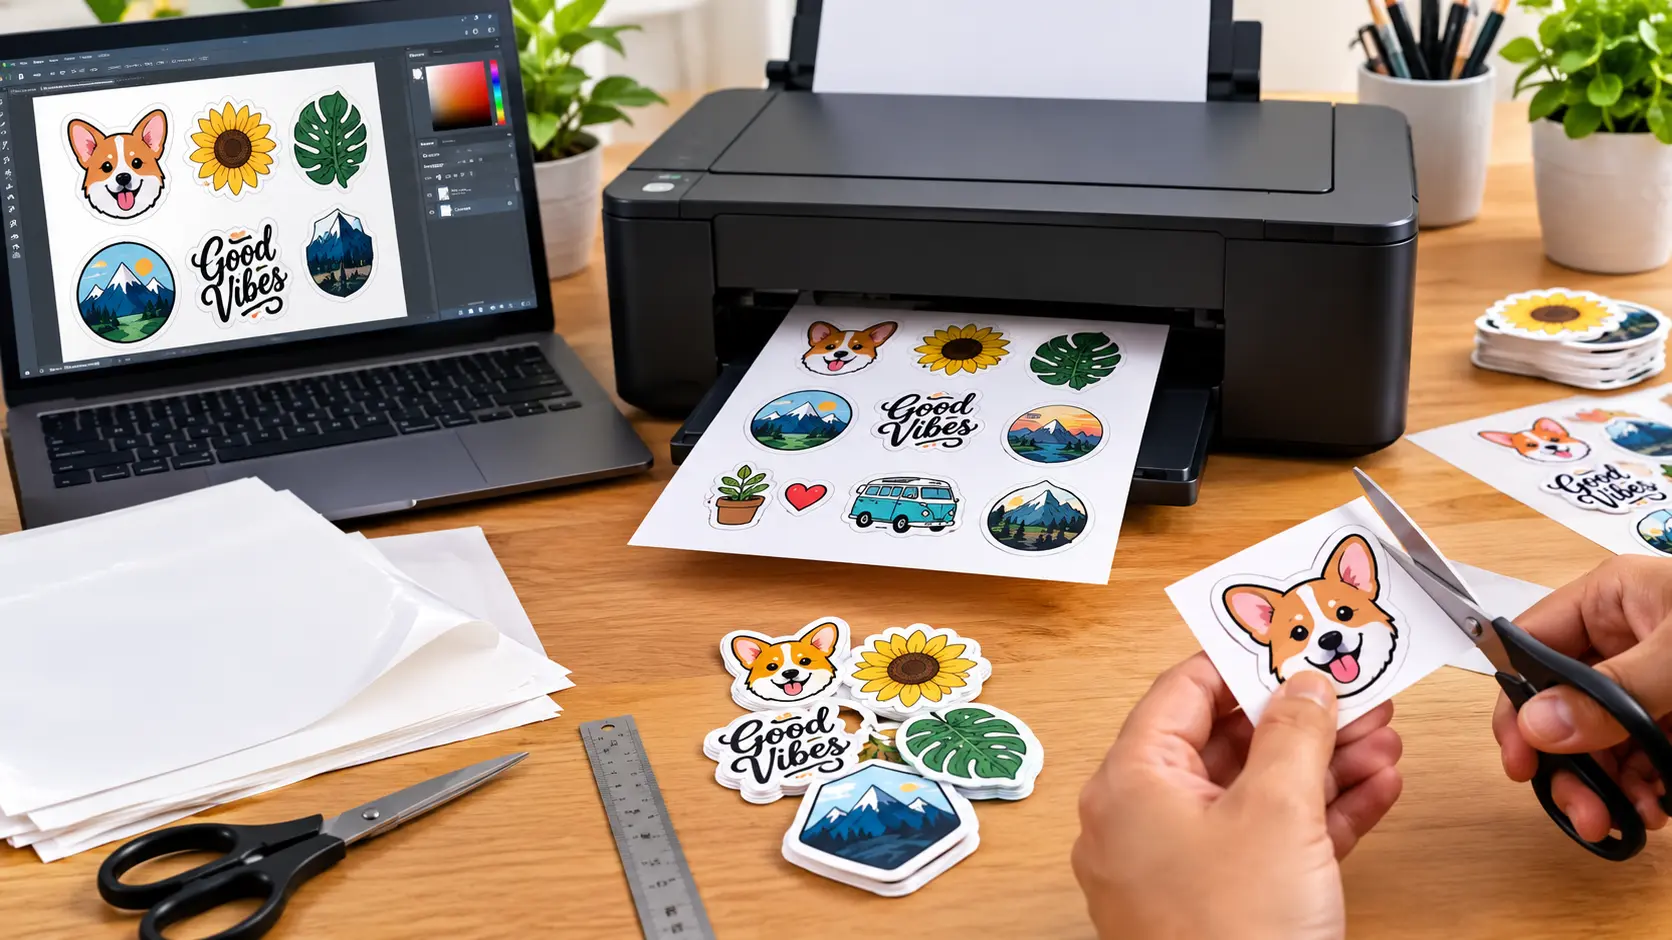

Print custom stickers at home without a vinyl cutter using simple tools you likely already own. You don’t need a $300 cutting machine to make stickers that look store-bought. A regular inkjet printer, a sheet of sticker paper, and a decent pair of scissors will get you most of the way there. This guide covers paper choice, printer settings, drying time, and cutting, so your first sheet doesn’t come out smudged or peeling at the edges within a week.
What You Need to Print Stickers Without a Vinyl Cutter
Before you print anything, gather these basics. None of them require a trip to a specialty craft store.
- An inkjet printer (most home printers already qualify)
- Printable sticker paper: glossy, matte, clear, or printable vinyl
- Design software: Canva, Microsoft Word, Procreate, or Adobe Illustrator all work fine
- Sharp scissors or a craft knife for cutting
- Optional: laminating sheets or clear packing tape, if you want extra durability
Does It Matter If You Have an Inkjet or Laser Printer?
This is one of the biggest issues when printing stickers. Inkjet printers work very well with most sticker papers as the ink is applied to the surface of the paper which is coated and will dry into the coating. Laser printers use heat to melt the toner to the paper. Using our standard sticker papers may cause problems by melting, jamming or peeling inside your laser printer. If you only have a laser printer then make sure to use sticker paper that is specified for laser printers. Don’t guess! Check the packaging to make sure it’s suitable for your printer.
Choosing the Right Sticker Paper (This Matters More Than the Printer)
The paper you pick decides how your stickers look and how long they survive. Here’s a quick breakdown:
| Paper Type | Best For | Water Resistance |
| Glossy sticker paper | Bright colors, photos, bold logos | Low to medium |
| Matte sticker paper | Subtle designs, text-heavy labels | Low to medium |
| Clear sticker paper | Glass, jars, windows, a transparent look | Medium |
| Printable vinyl | Water bottles, laptops, outdoor use, small-business labels | High |
If your stickers are going on a mug, a car window, or anything that touches water, printable vinyl is worth the extra cost. For planner stickers or gift tags that stay indoors, glossy or matte paper works just fine.
How to Print Custom Stickers at Home, Step by Step
Step 1 — Design With Spacing in Mind
Leave at least a quarter-inch of space between each design on the page. Tight spacing makes hand-cutting nearly impossible and leads to jagged edges. If your software supports it, add a thin cut guide or outline around each sticker so you know exactly where to cut later.
Step 2 — Run a Test Print on Plain Paper
Print your design on regular printer paper first. Check the colors, the alignment, and the sizing before you commit to sticker paper, which costs more per sheet and can’t be reprinted once it’s cut down.
Step 3 — Set the Correct Print Quality
Go into your printer settings and select the paper type that matches what you’re using (Photo Paper, Glossy, or Matte), then choose the highest quality setting available. Skipping this step is the single most common reason DIY stickers look washed out or blurry.
Step 4 — Print and Let It Dry Completely
Load the sticker paper according to the arrow printed on the sheet, print, and then leave it alone. Give the ink 15 to 30 minutes to dry fully before you touch it. Handling a sticker sheet too soon smears the ink and ruins the print, especially with inkjet ink on glossy paper.
Step 5 — Cut Your Stickers
Once the sheet is dry, cut each sticker out with scissors or a craft knife. For sharp corners and tight curves, a craft knife on a cutting mat gives you more control than scissors. Leave a small white border around each design rather than cutting flush against the edge; it’s far more forgiving if your hand slips.
Can You Make Waterproof Stickers Without a Vinyl Cutter?
Yes, and you have two realistic options. The first is printable vinyl, which resists water on its own and holds up outdoors for months. The second is a budget trick worth knowing: print your design on regular paper, lay a strip of clear packing tape over it, press out the air bubbles, then cut around the design. The tape seals the ink and creates a surprisingly durable, waterproof sticker using tools you probably already own.
Common Mistakes That Ruin DIY Stickers
A few habits separate a clean sticker sheet from a wasted one.
- Skipping the test print and wasting sticker paper on a misaligned design
- Cutting before the ink is fully dry, which smears the design
- Using the wrong print quality setting, resulting in dull or pixelated colors
- Cutting too close to the artwork instead of leaving a small border
- Loading sticker paper upside down, since most sheets only print on one side
Is Printing Stickers at Home Cheaper Than Buying Them?
For smaller quantities this is the best option. You have full control over how many you make, there are no postage or setup costs and if there are any typos or colours that you want to change you can do so within minutes. When you get to printing lots (hundreds) of the same sticker for a shop/event then it makes more financial sense to go for a print on demand service or vinyl cut. The bulk pricing will be better and you can get very precise cuts. If you’re printing for birthday favours, planner decor or just a one off gift then your home printer is the way to go.
Frequently Asked Questions
Can I print stickers without special sticker paper?
Yes. You can print on regular paper and seal it with clear packing tape, or laminate it, to create a basic waterproof sticker. It won’t look as polished as printable vinyl, but it works for casual projects and costs almost nothing.
Do I need a special printer to make custom stickers at home?
No. A standard inkjet printer handles most sticker paper without issues. If you only have a laser printer, just buy sticker paper that’s labeled for laser printers, since regular inkjet sticker sheets can jam or melt inside one.
How do I make my printed stickers waterproof without a vinyl cutter?
Use printable vinyl sticker paper, which is water-resistant by design, or cover a regular paper print with clear packing tape or a laminating sheet before cutting it out.
Why are my DIY stickers smudging after I print them?
The ink almost certainly didn’t finish drying. Give printed sheets 15 to 30 minutes before you touch or cut them, and avoid stacking freshly printed sheets on top of each other.
How do I cut stickers neatly without a cutting machine?
Use sharp scissors for simple shapes and a craft knife with a cutting mat for tight curves or sharp corners. Leave a small white border around each design so small cutting mistakes stay hidden.
Can I print custom stickers in bulk at home?
You can, but it gets slow and expensive past a few dozen sheets. For large runs, a print-on-demand sticker service or an investment in a vinyl cutter usually works out cheaper per sticker.
Final Word
Grab a sheet of sticker paper, run one test print, and you’ll have your first finished sheet in under 20 minutes. No cutting machine, no steep learning curve, just a printer and a little patience while the ink dries.